Okay - just because you asked...here's how I did the apple.
I called it a Flemish technique, but really it's quite heavily modified - first the traditional technique is in oils, and I'm using acrylics, and second, I'm impatient and undisciplined...if you want to know more about the real thing, take a look here.
So, anyway - here we go...
My step 1, which is really like 3 steps - the drawing, the imprimatura (which is really just toning the canvas) and the umber layer to establish the lights and darks.

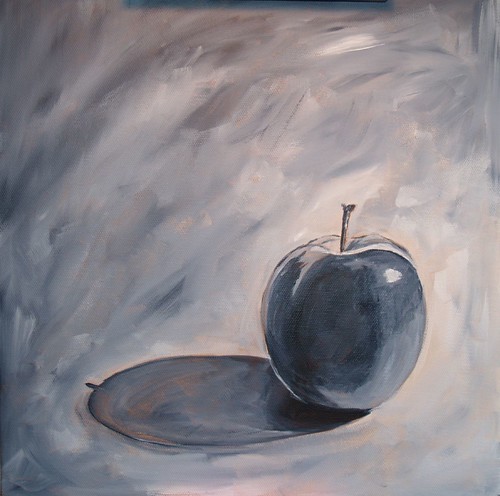
Next up is the dead layer. Now - having done this, I think I could have completely skipped the umber and gone straight to the dead layer - seems a bit redundant to me. This is really the meat of the painting - I used Payne's Gray and white gesso here - and really worked to model the form. This is also where the most time was spent - revising shape, shadow and highlight. At the end of this stage is really a nice painting - only in grayscale...
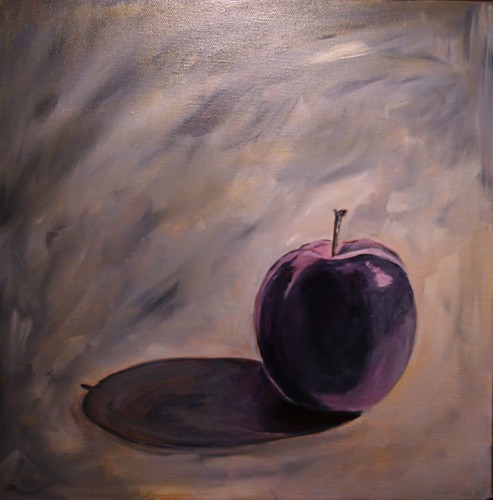
Now I started glazing color onto the painting. I used a very heavy glaze - that is a lot of glaze to a little paint. I probably could have done with less glaze, but I wanted to make sure I didn't go too thickly here...next time I'll probably use more color...
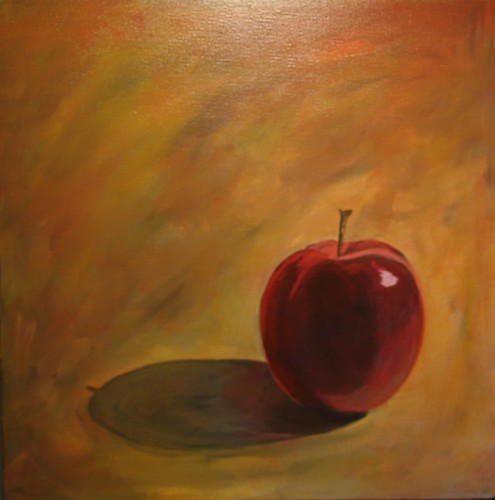
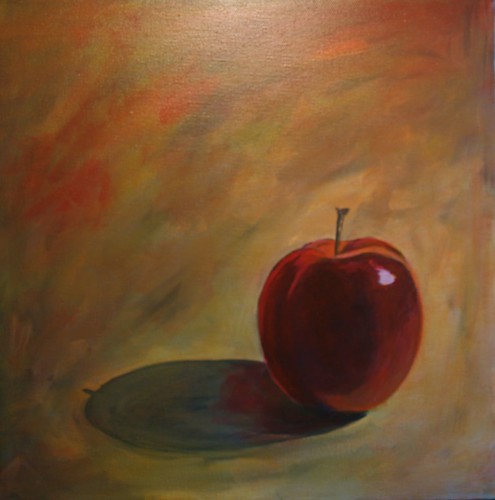
The last layer consists of the most opaque paint - mostly in highlights and areas that need re-defining after all those color layers. So, this is where I ended up...
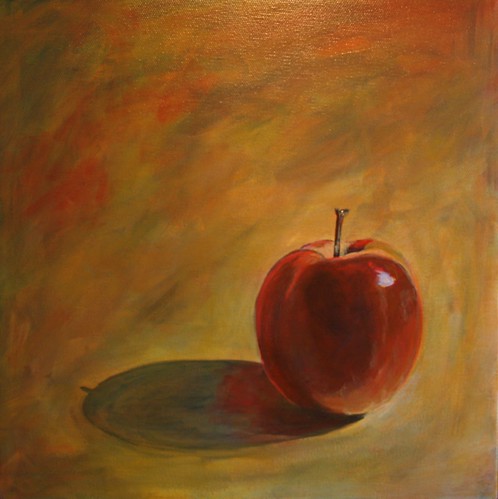
I was inspired to try this after looking at the artwork of Mark Woodland - go check out his site!
Thanks for the demonstration, Diahn - I'm bookmarking this so I can come back and study it!
ReplyDeleteBrava, Diahn. I have never attempted this because, frankly, the seven weeks between layers reminds me of my recent approach to housework! Now I'm thinking I may try it in Acrylic first. Most enjoyable demonstration. Thank you.
ReplyDeleteLOL, Robyn! Isn't that how you are supposed to approach housework??? :-D
ReplyDeleteThis is really neat. I love how you showed all the different stages. :)
ReplyDeleteWow, Diahn, that is wonderful.
ReplyDeleteOh my gosh -- this is awesome! I can't believe I'm just now seeing it! I don't think you would want to skip any layers -- this is really perfect.
ReplyDeleteGreat post. Love to see all the stages.
ReplyDeleteVery nice!!! I like the end result.
ReplyDeletei'm gonna try it with oil paint one day.
Greetings,
Ilja